
How we made the 3D Rendering for the Loyola Wine Room

Loyola Wine Room - 3D Rendering by Renderus
Summary
Michael Kao, the principal architect at MAK Studio, asked us to produce a 3D rendering for the Loyola Wine Room, a part of the Loyola House in San Francisco.
The MAK Studio team, whose interiors are fantastic, did an amazing design for this project. The Loyola Wine Room is a minimalist space, filled with charming objects. Although it has a touch of an adventurer’s collection chamber, it’s a very cozy room. The space is quiet and delicate, in dark tones with a view of an ancient olive tree and lush greenery. The subtle interior lighting emphasizes the unique furniture. On the final 3D rendering, the main window was brighter than it should have been as we raised the light levels on purpose to increase the contrast between dark finishes and light portals.
How 3D Rendering Works
The skill of 3D rendering resembles cooking, but the ingredients, tools, and output are different. Thomas Keller, a three-Michelin-star chef, says that the art of cooking stands on two basic foundations: ingredients and a proper execution. Adopting his cooking analogy into our work, we crave to get quality ingredients and to perform a proper execution.
At our studio Renderus, we establish our 3D renderings on these two principles:
1. INGREDIENTS:
In our industry, the ingredients are architectural designs and reference photographs.
2. EXECUTION:
We see execution as the craft of making 3D renderings.
About 3D Renderings
3D renderings depict how an unmade space will look. As the space is still on paper, our job is to present it in a form of an image. The goal is to make the image that look realistic and natural, which wouldn’t be possible without using references. At the start of every project, we put an enormous effort to find photographs of existing spaces that resemble our project. Those photographs serve as our guidelines, as we study them to pick up the lighting rules and patterns to be implemented in raw 3D renderings. This is a perfect mixture of algorithm and handwork.
Ingredients
ARCHITECTURAL DESIGN
Every architectural design is unique. It’s like an architect’s fingerprint. Architectural design is a documentation that represents an architect’s idea. The documentation usually comes as a set of 2D drawings, but sometimes as a rough 3D model. It’s a rule of thumb that the great idea from an architect yields brilliant renderings.
Working with Michael Kao and his team is always great. They pursue the clear vision and know how to guide you. We always get the great design documentation from them, which inspires us to make their vision come true.
For this project, they provided the Auto Cad drawings, photographs from the site, and furniture references. They sent examples of interior spaces, surface finishes, details, and a working sketch. They also sent the links of the furniture manufacturers, so we fully grasped the client’s vision.
Here is the working Sketch, that we love :)

Sketch for Loyola Wine Room Project - Property of MAK Studio
Here are some of the construction site and interior examples photos:
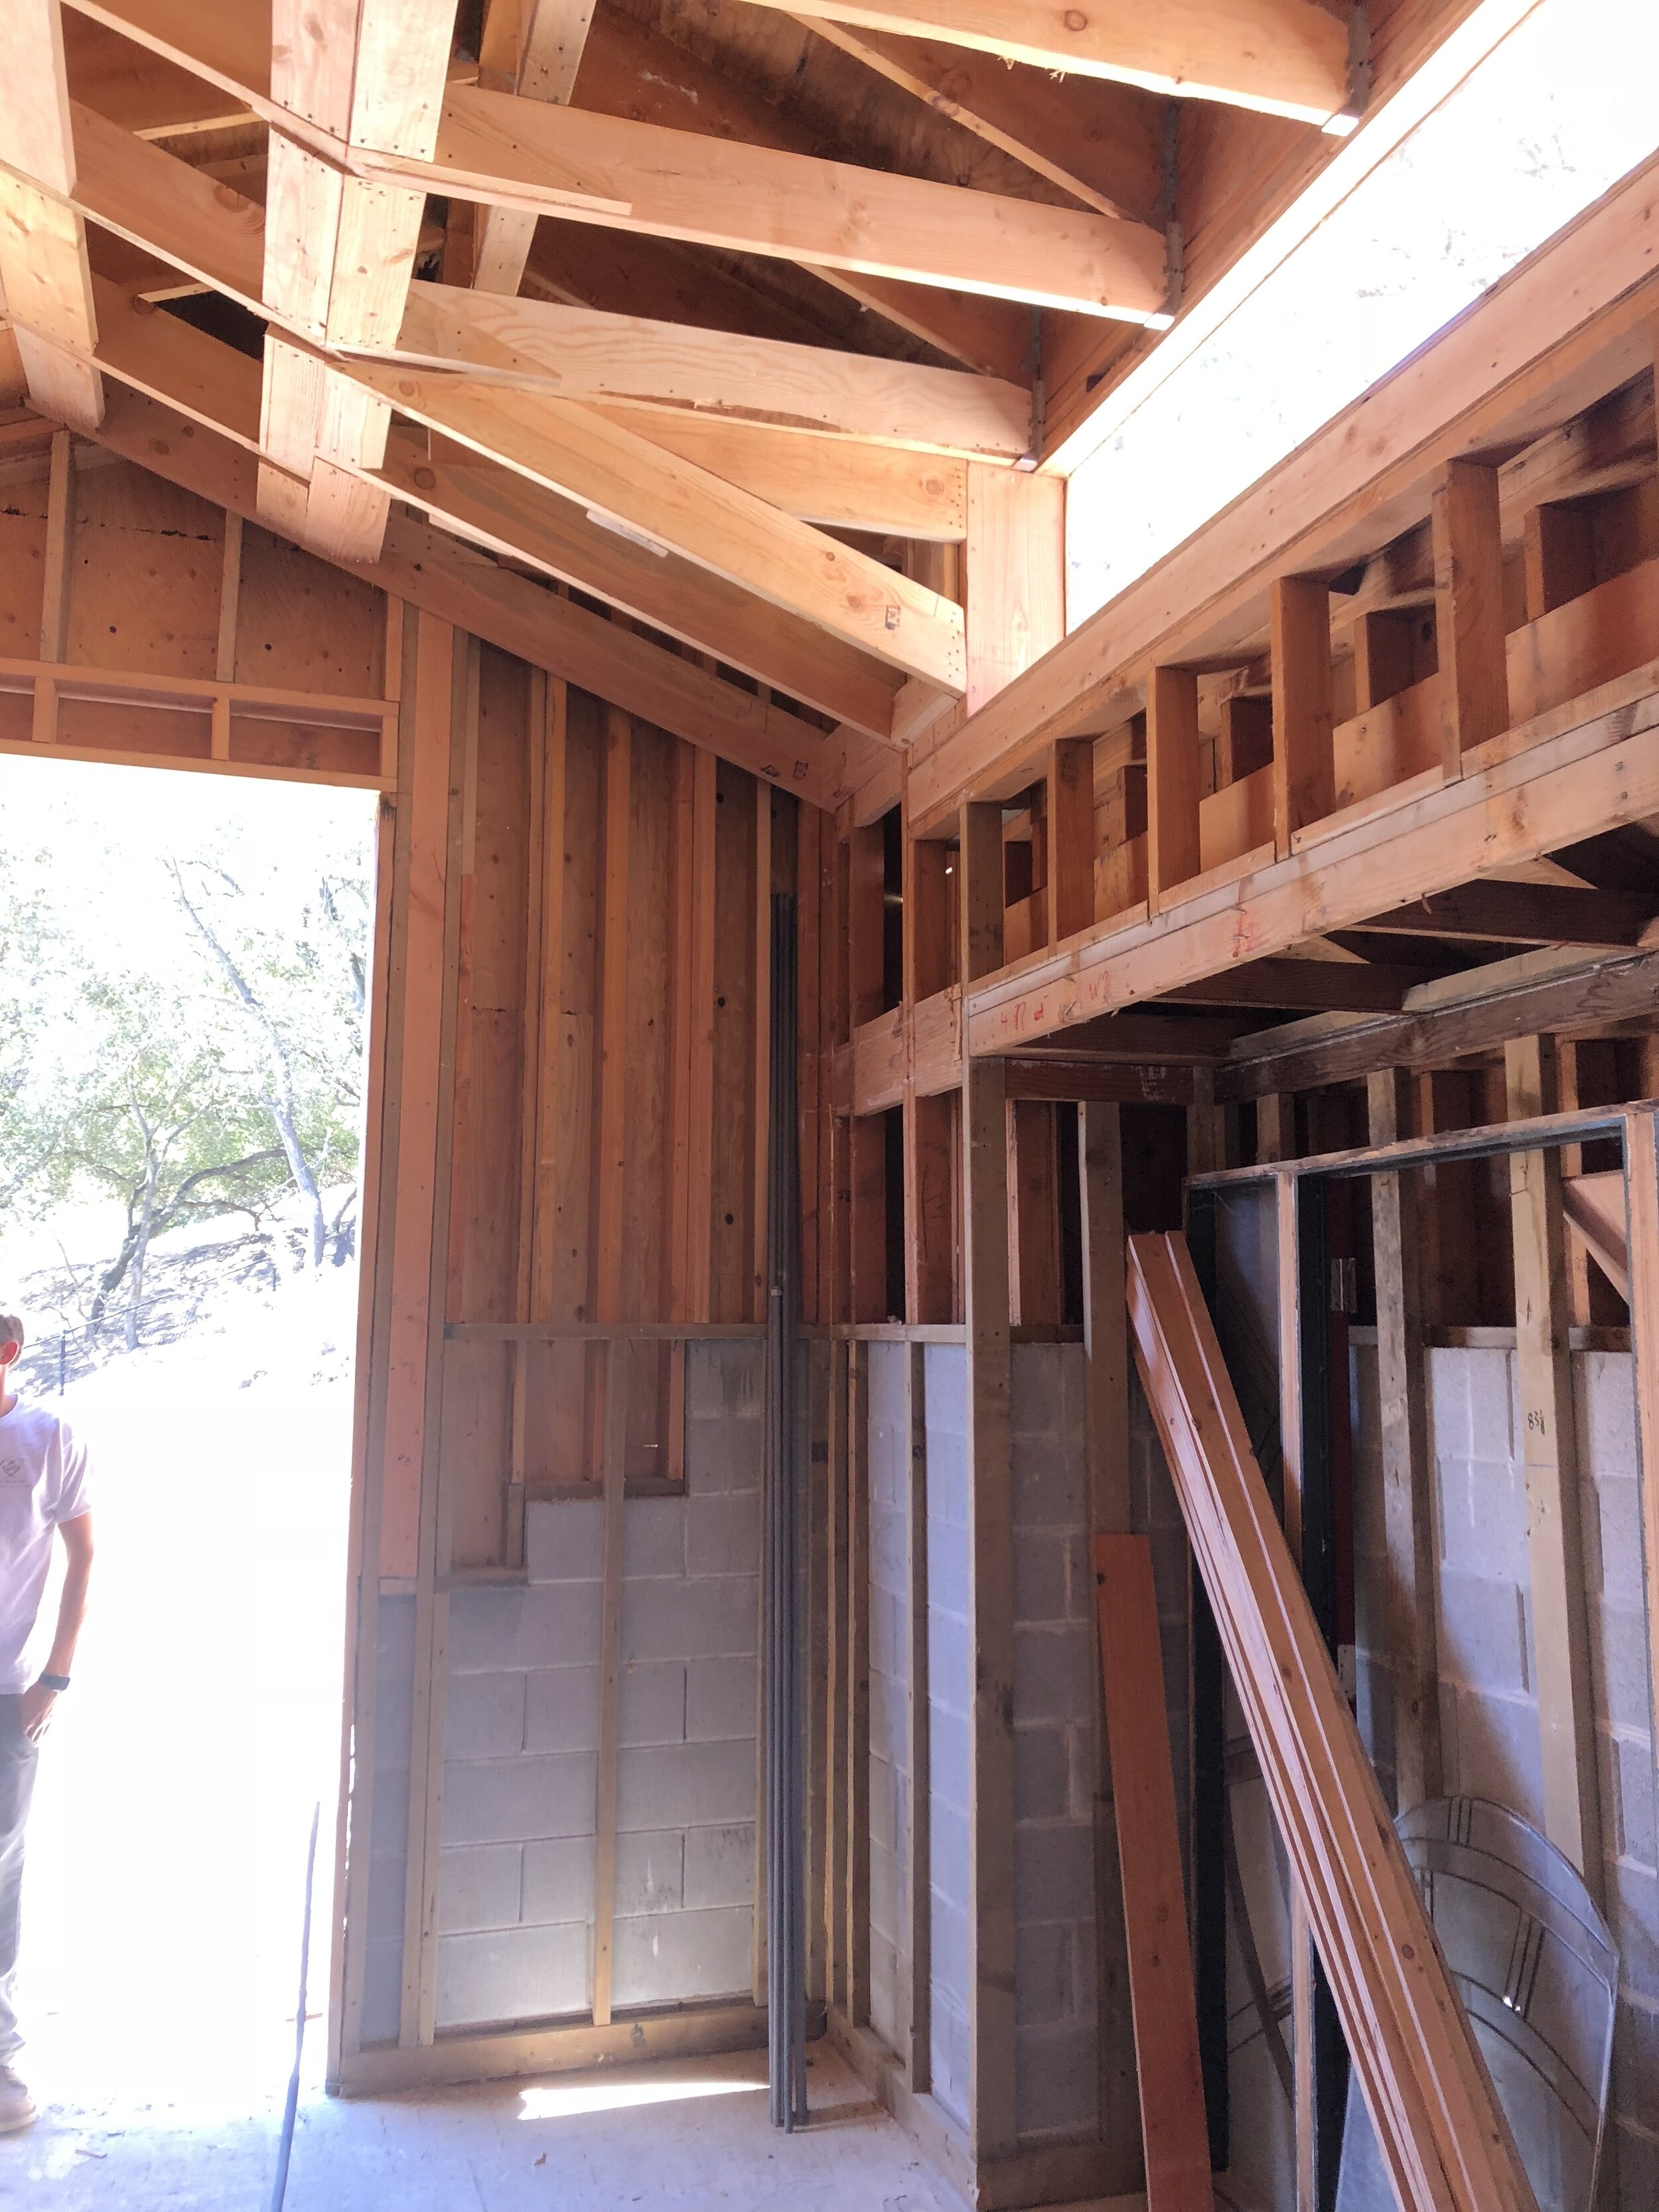
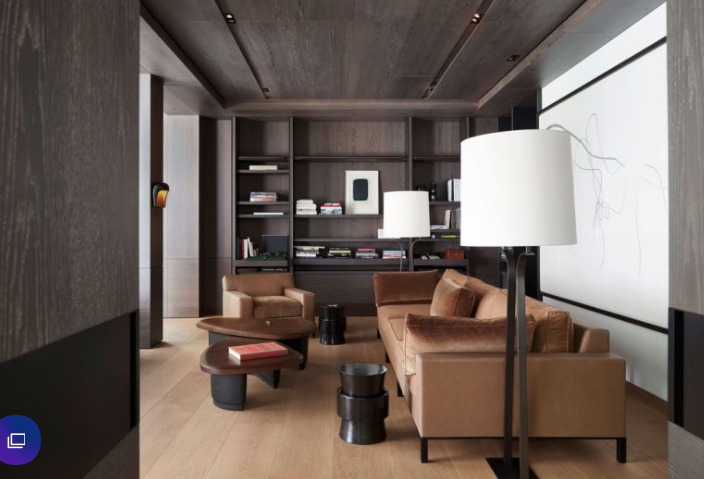
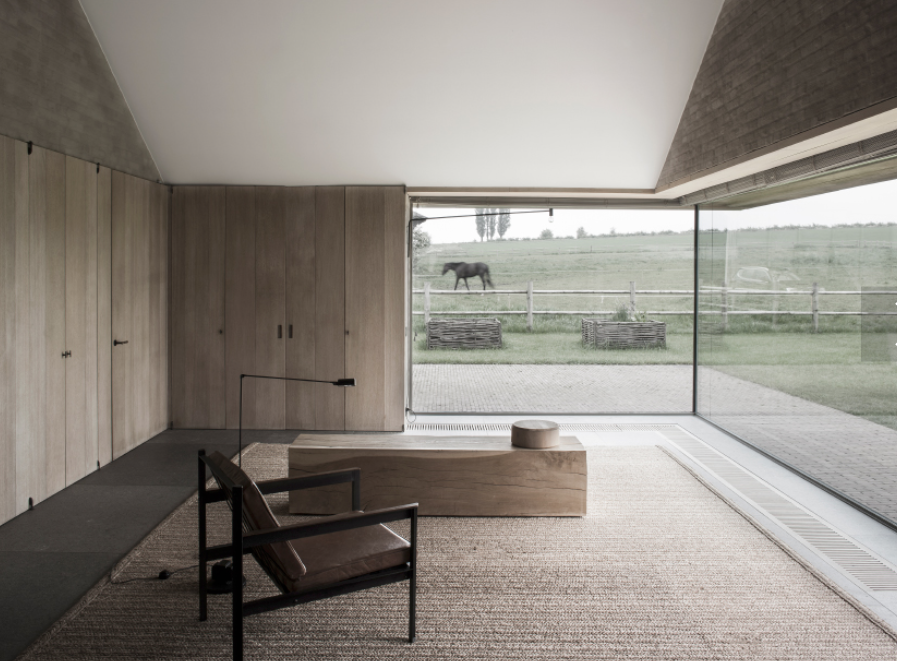
Photo-references for Loyola Wine Room Project - Property of MAK Studio
The followings are the links of furniture manufacturers:
Stahl and Brand Franck Sofa http://stahlandband.com/collections/franck-sofa/
Small stools https://atelierdetroupe.com/product/sitio-table/
Porro shelfing system https://www.porro.com/en/products/collections/bookshelves/
Here are some of furniture, finishes, and detail photos:
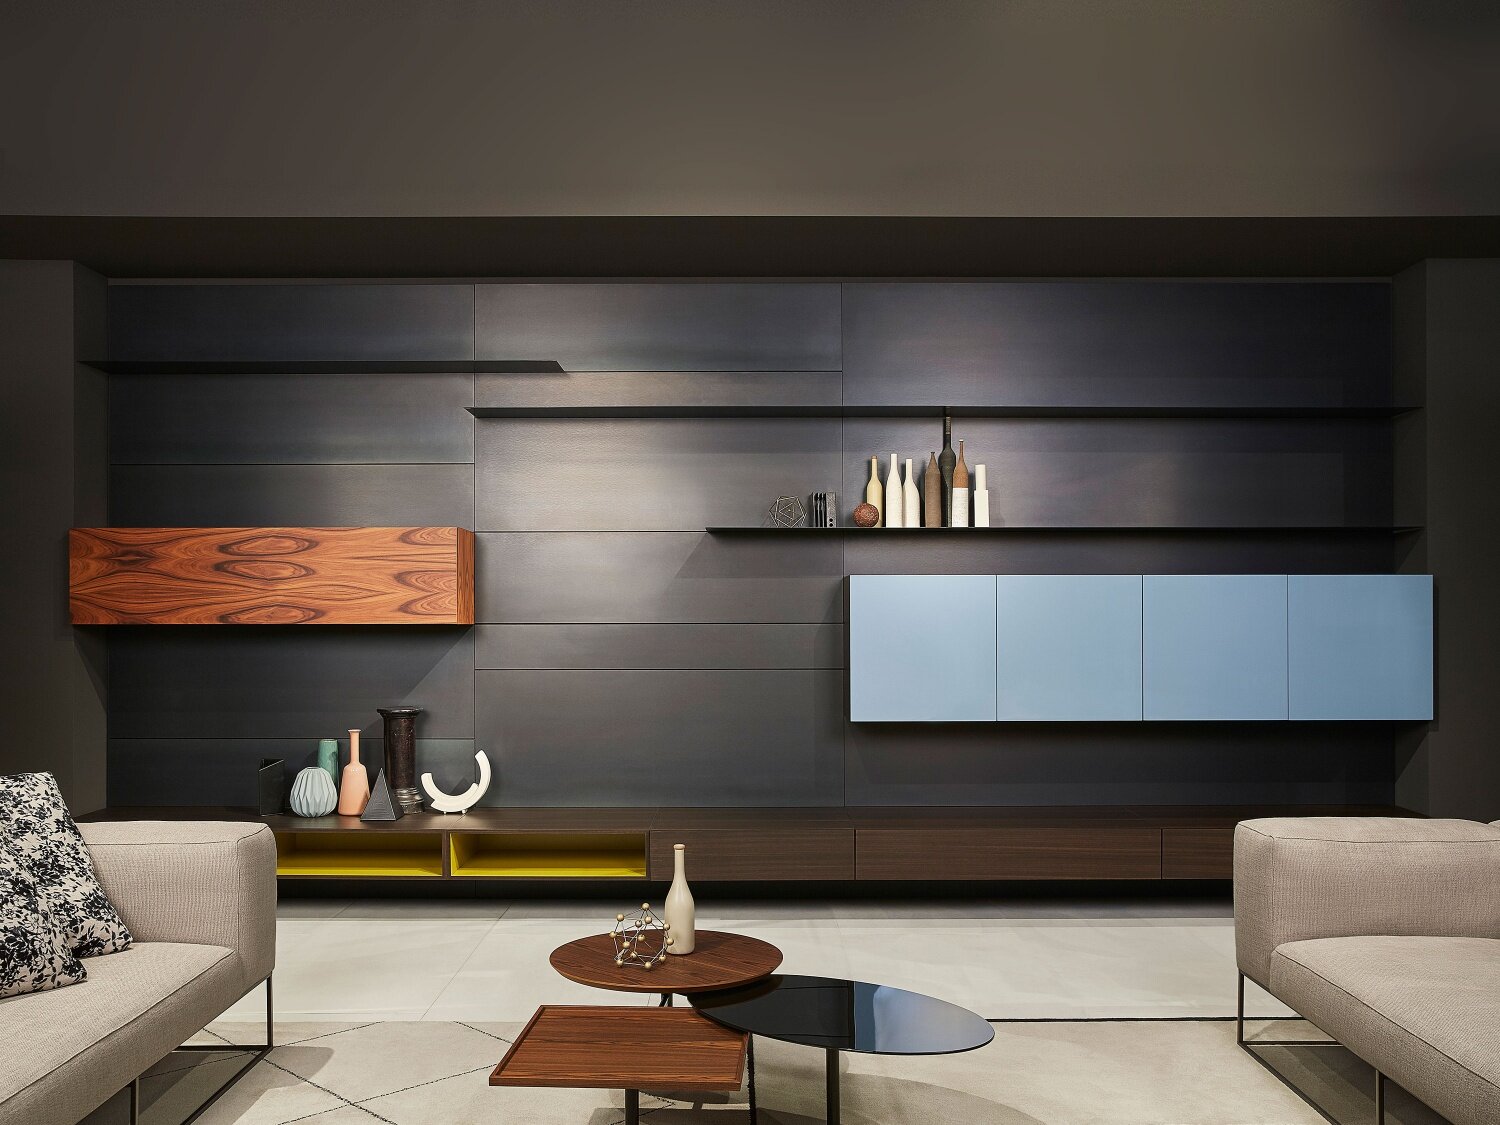
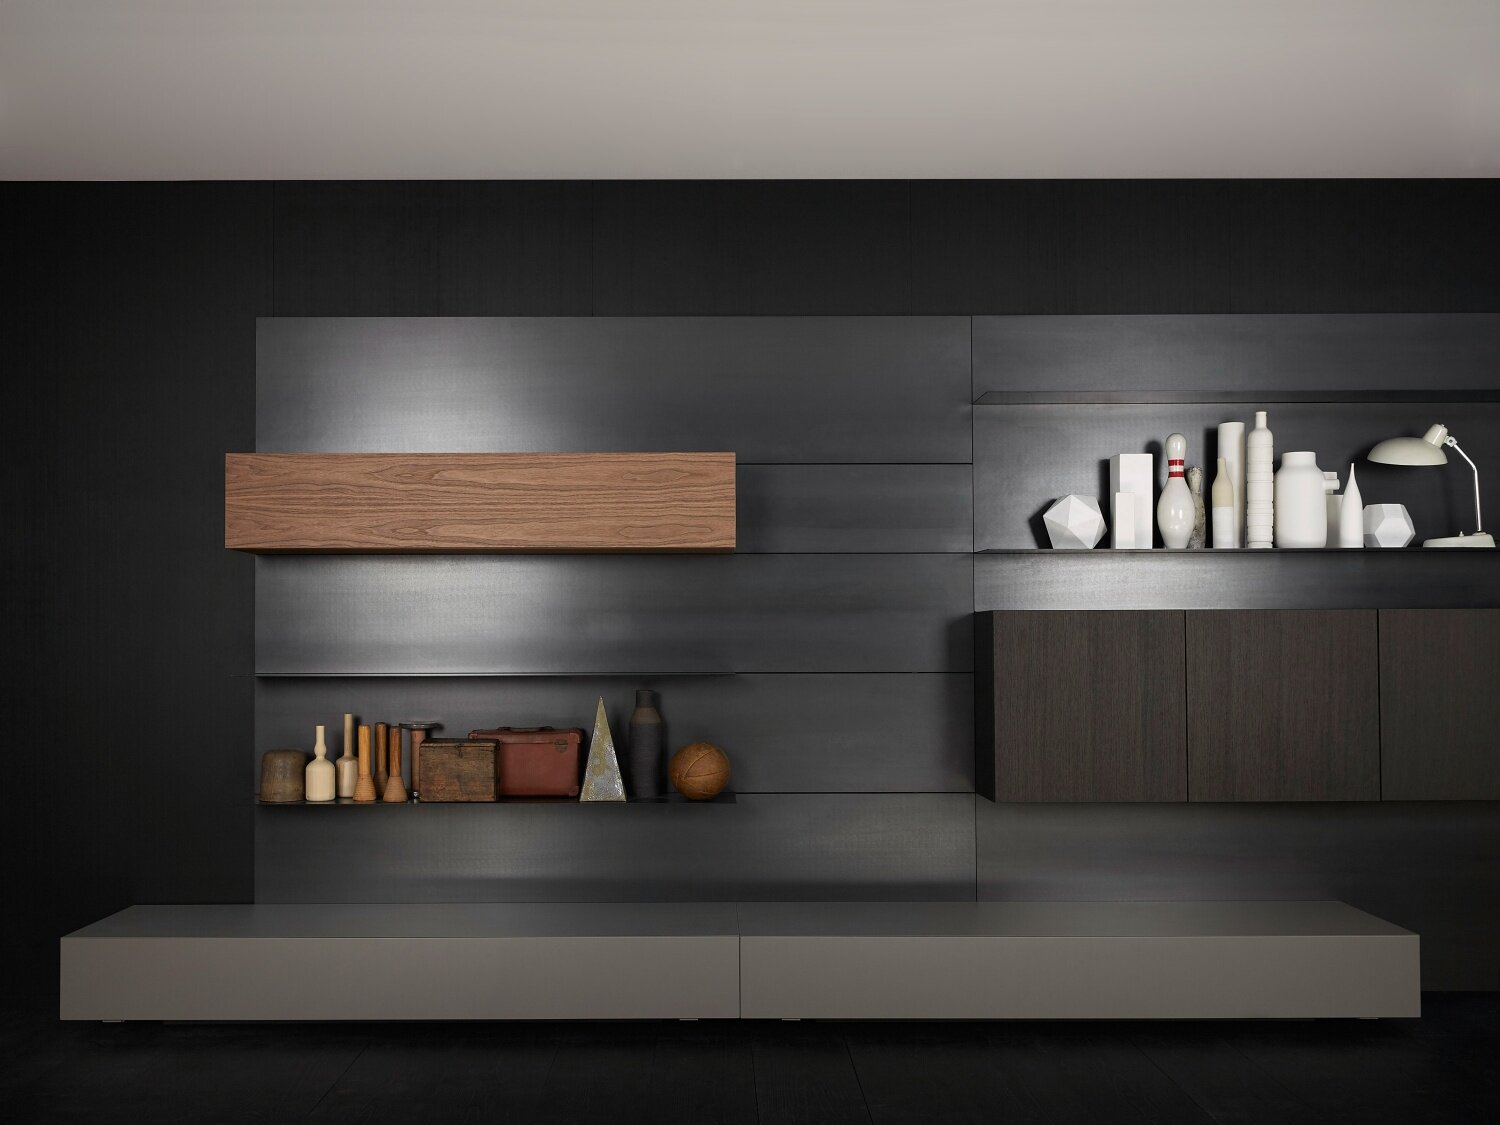
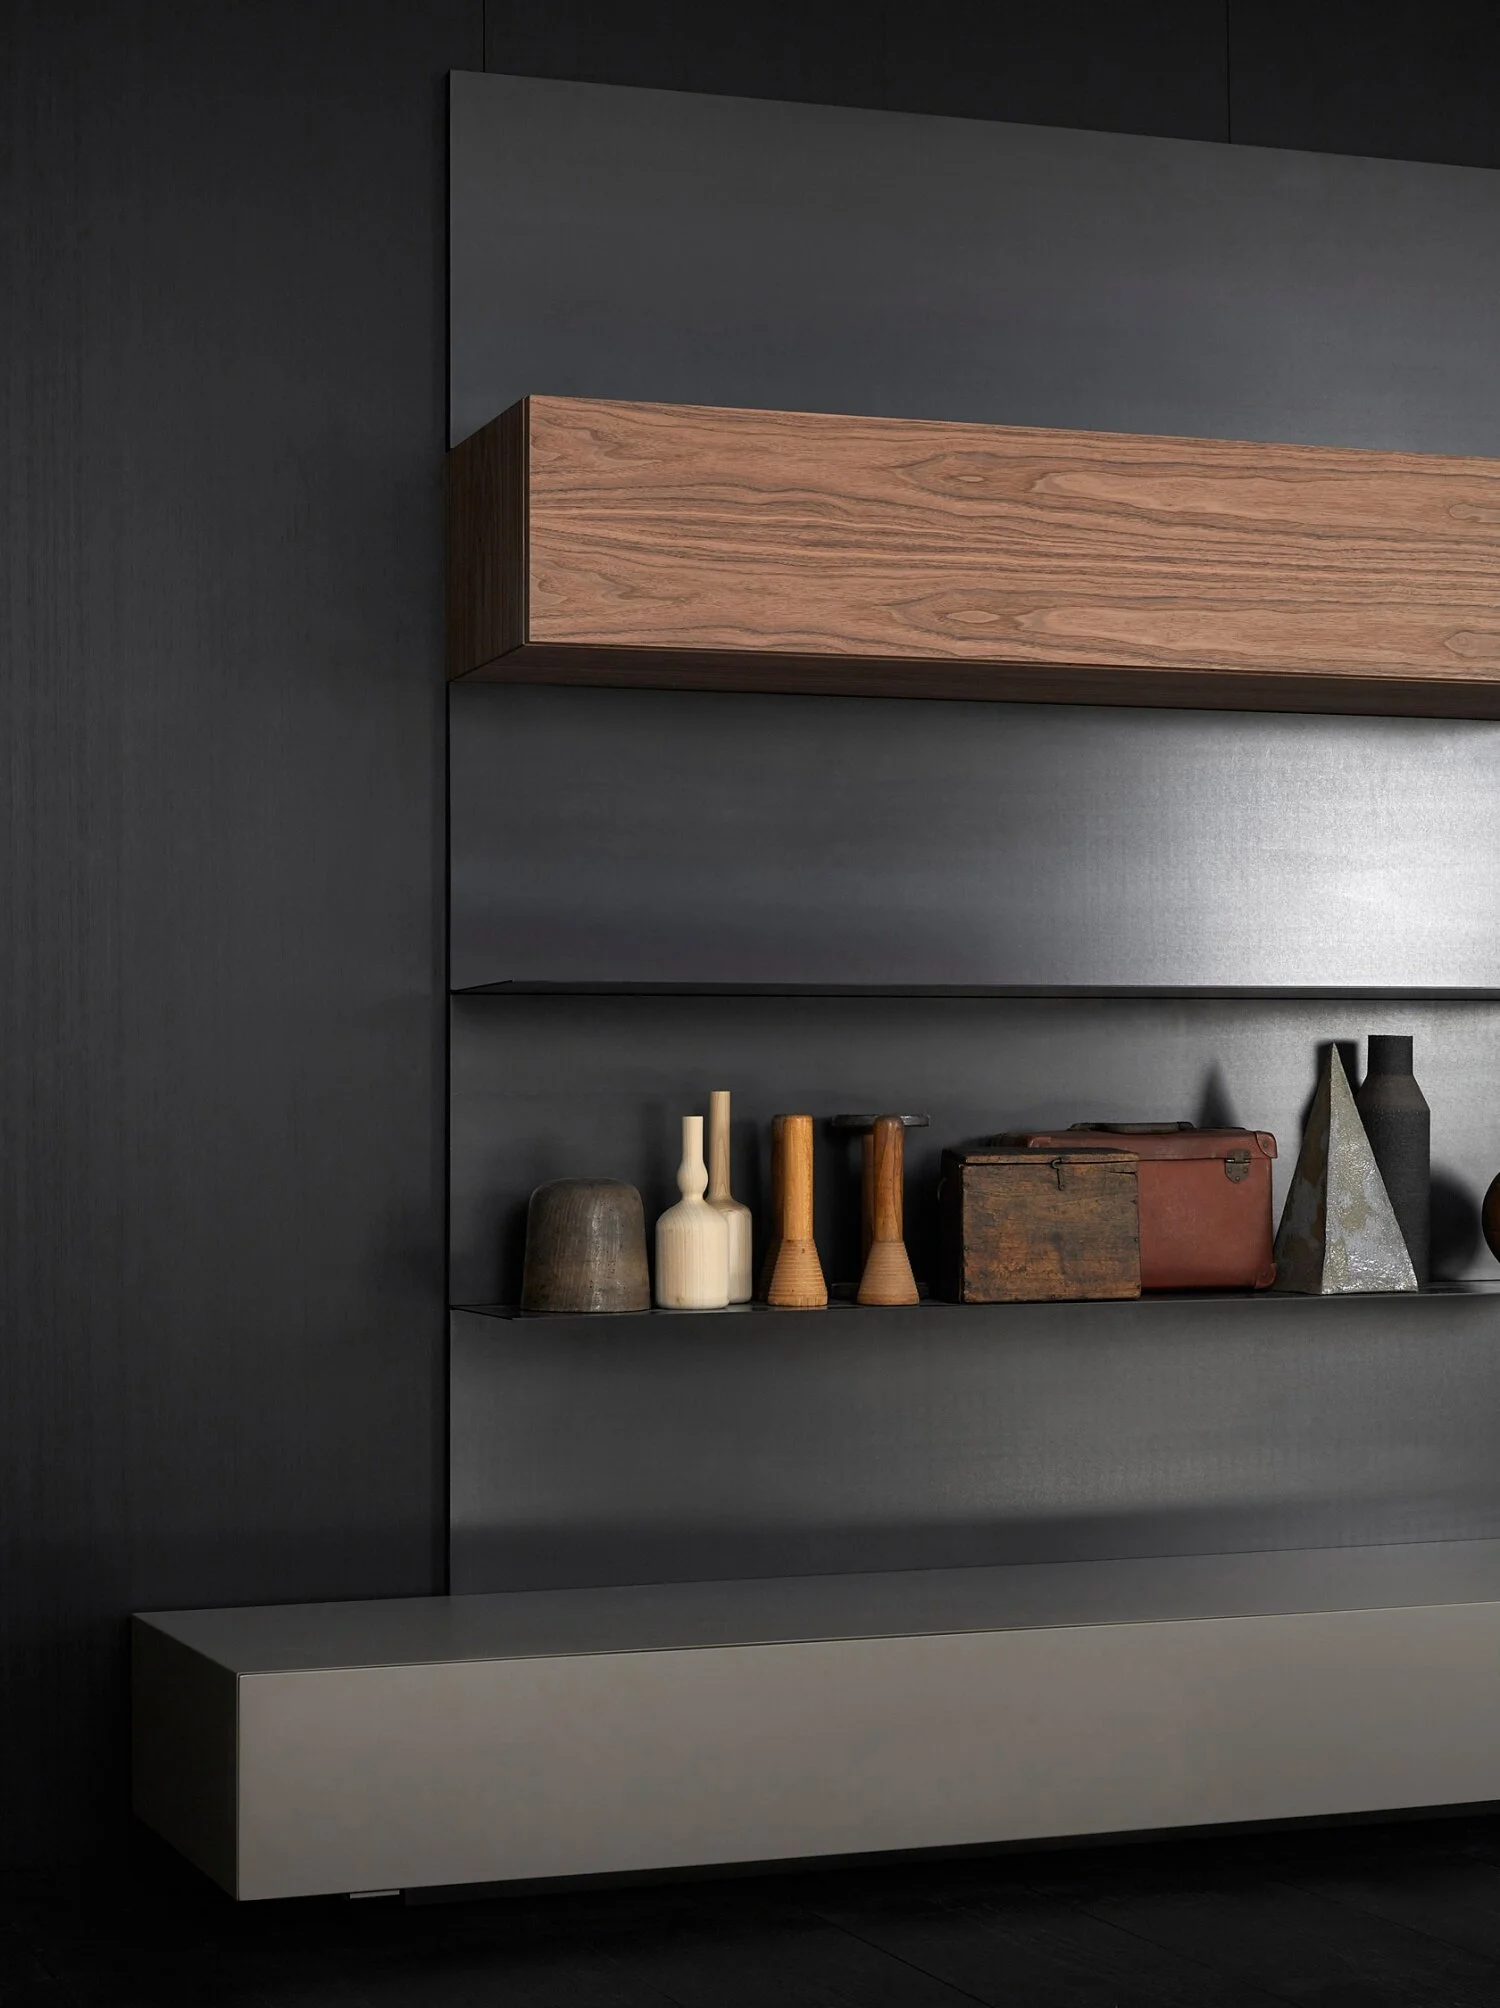
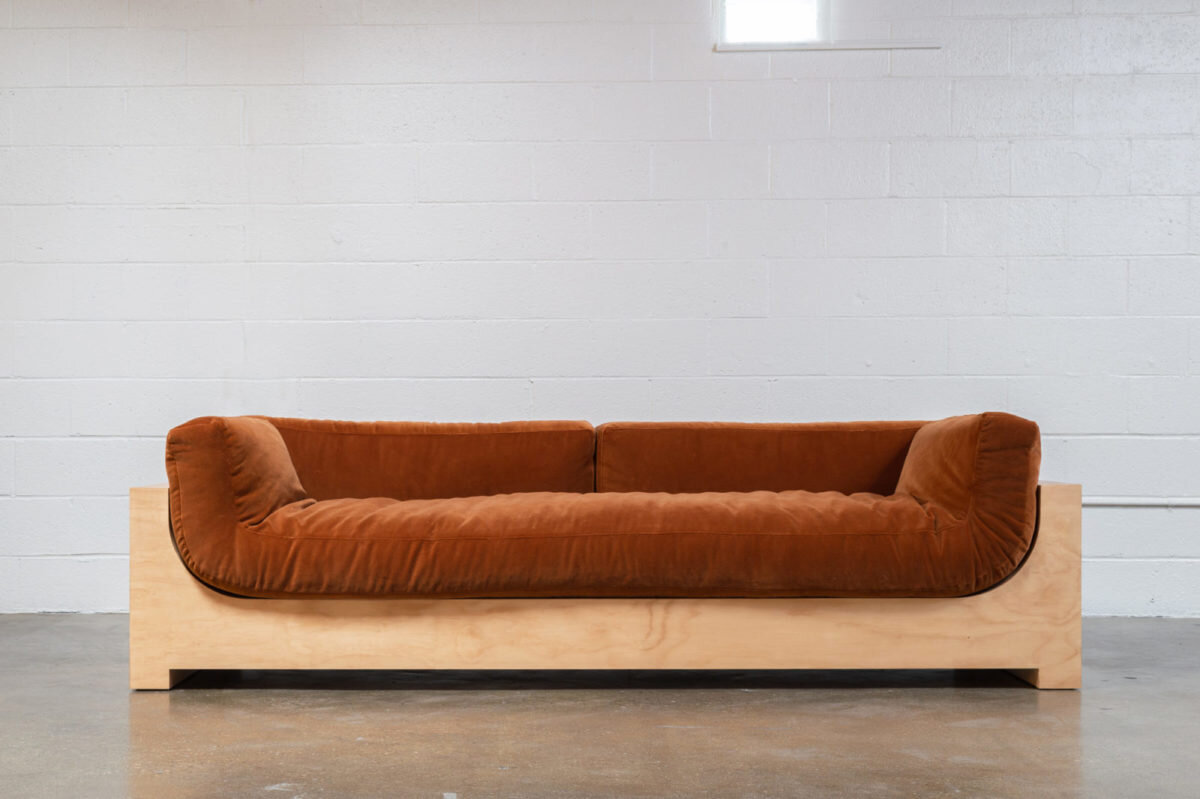
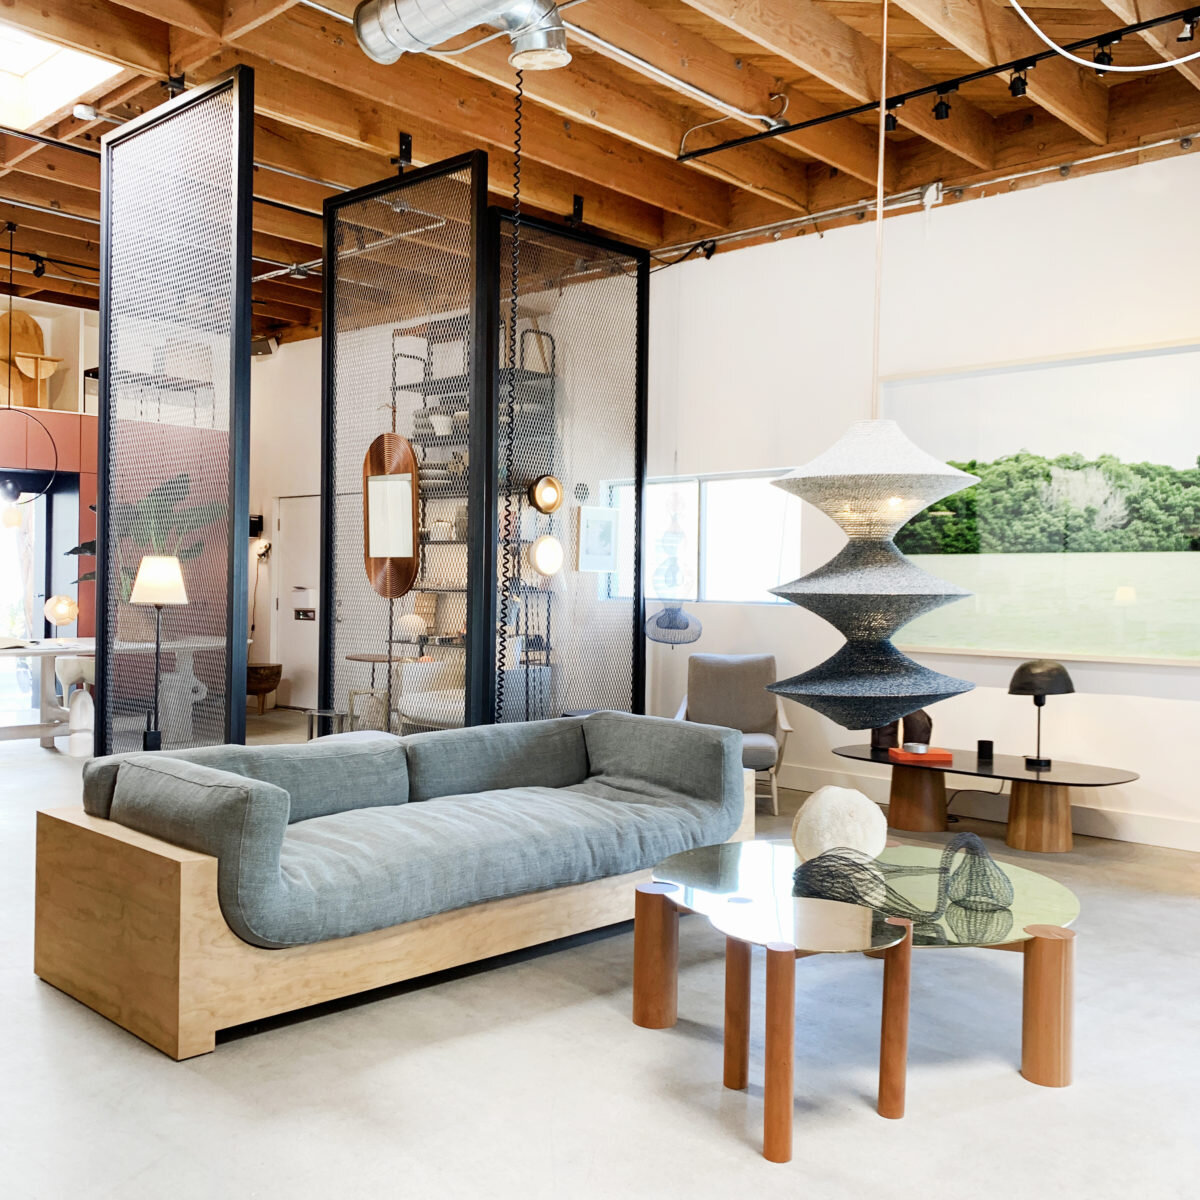
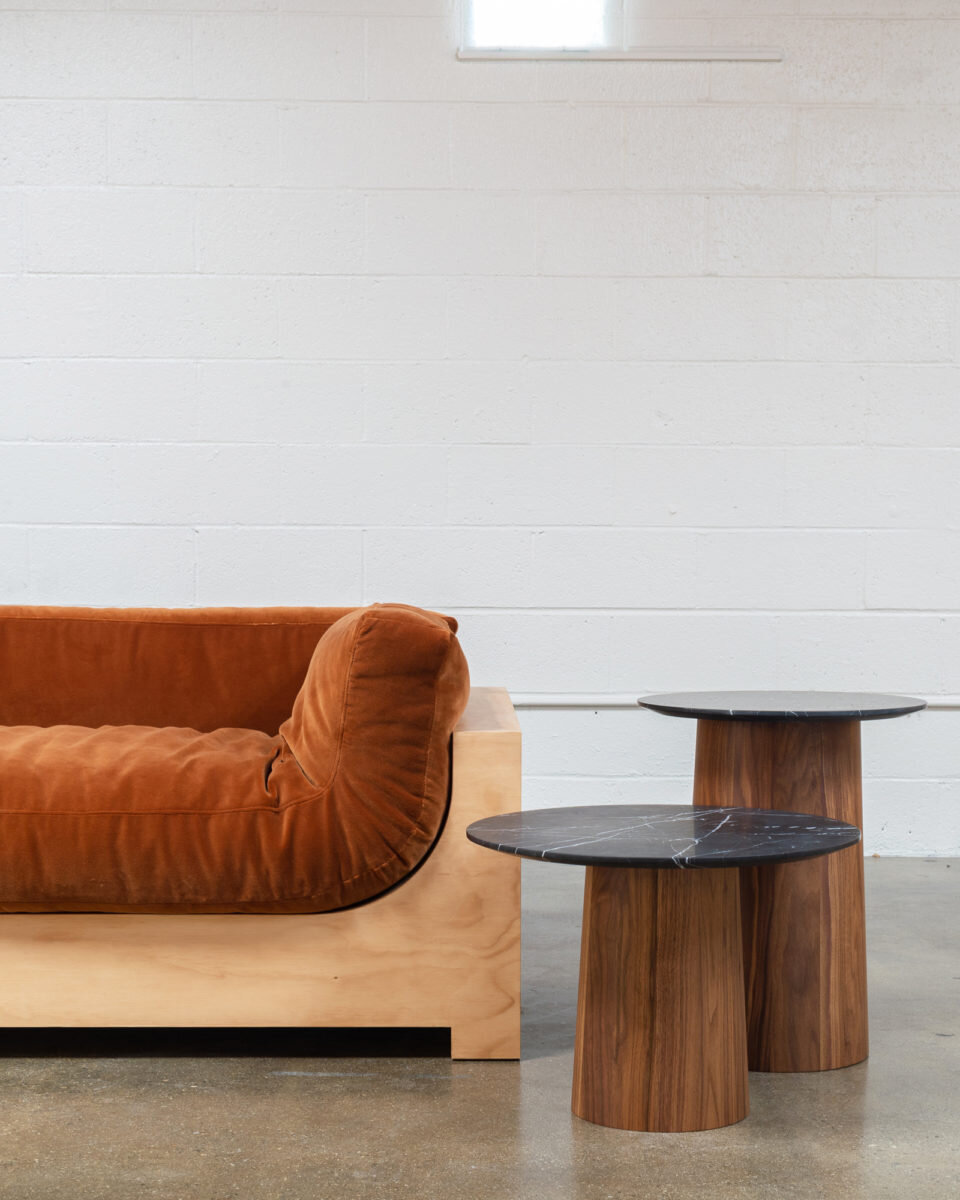

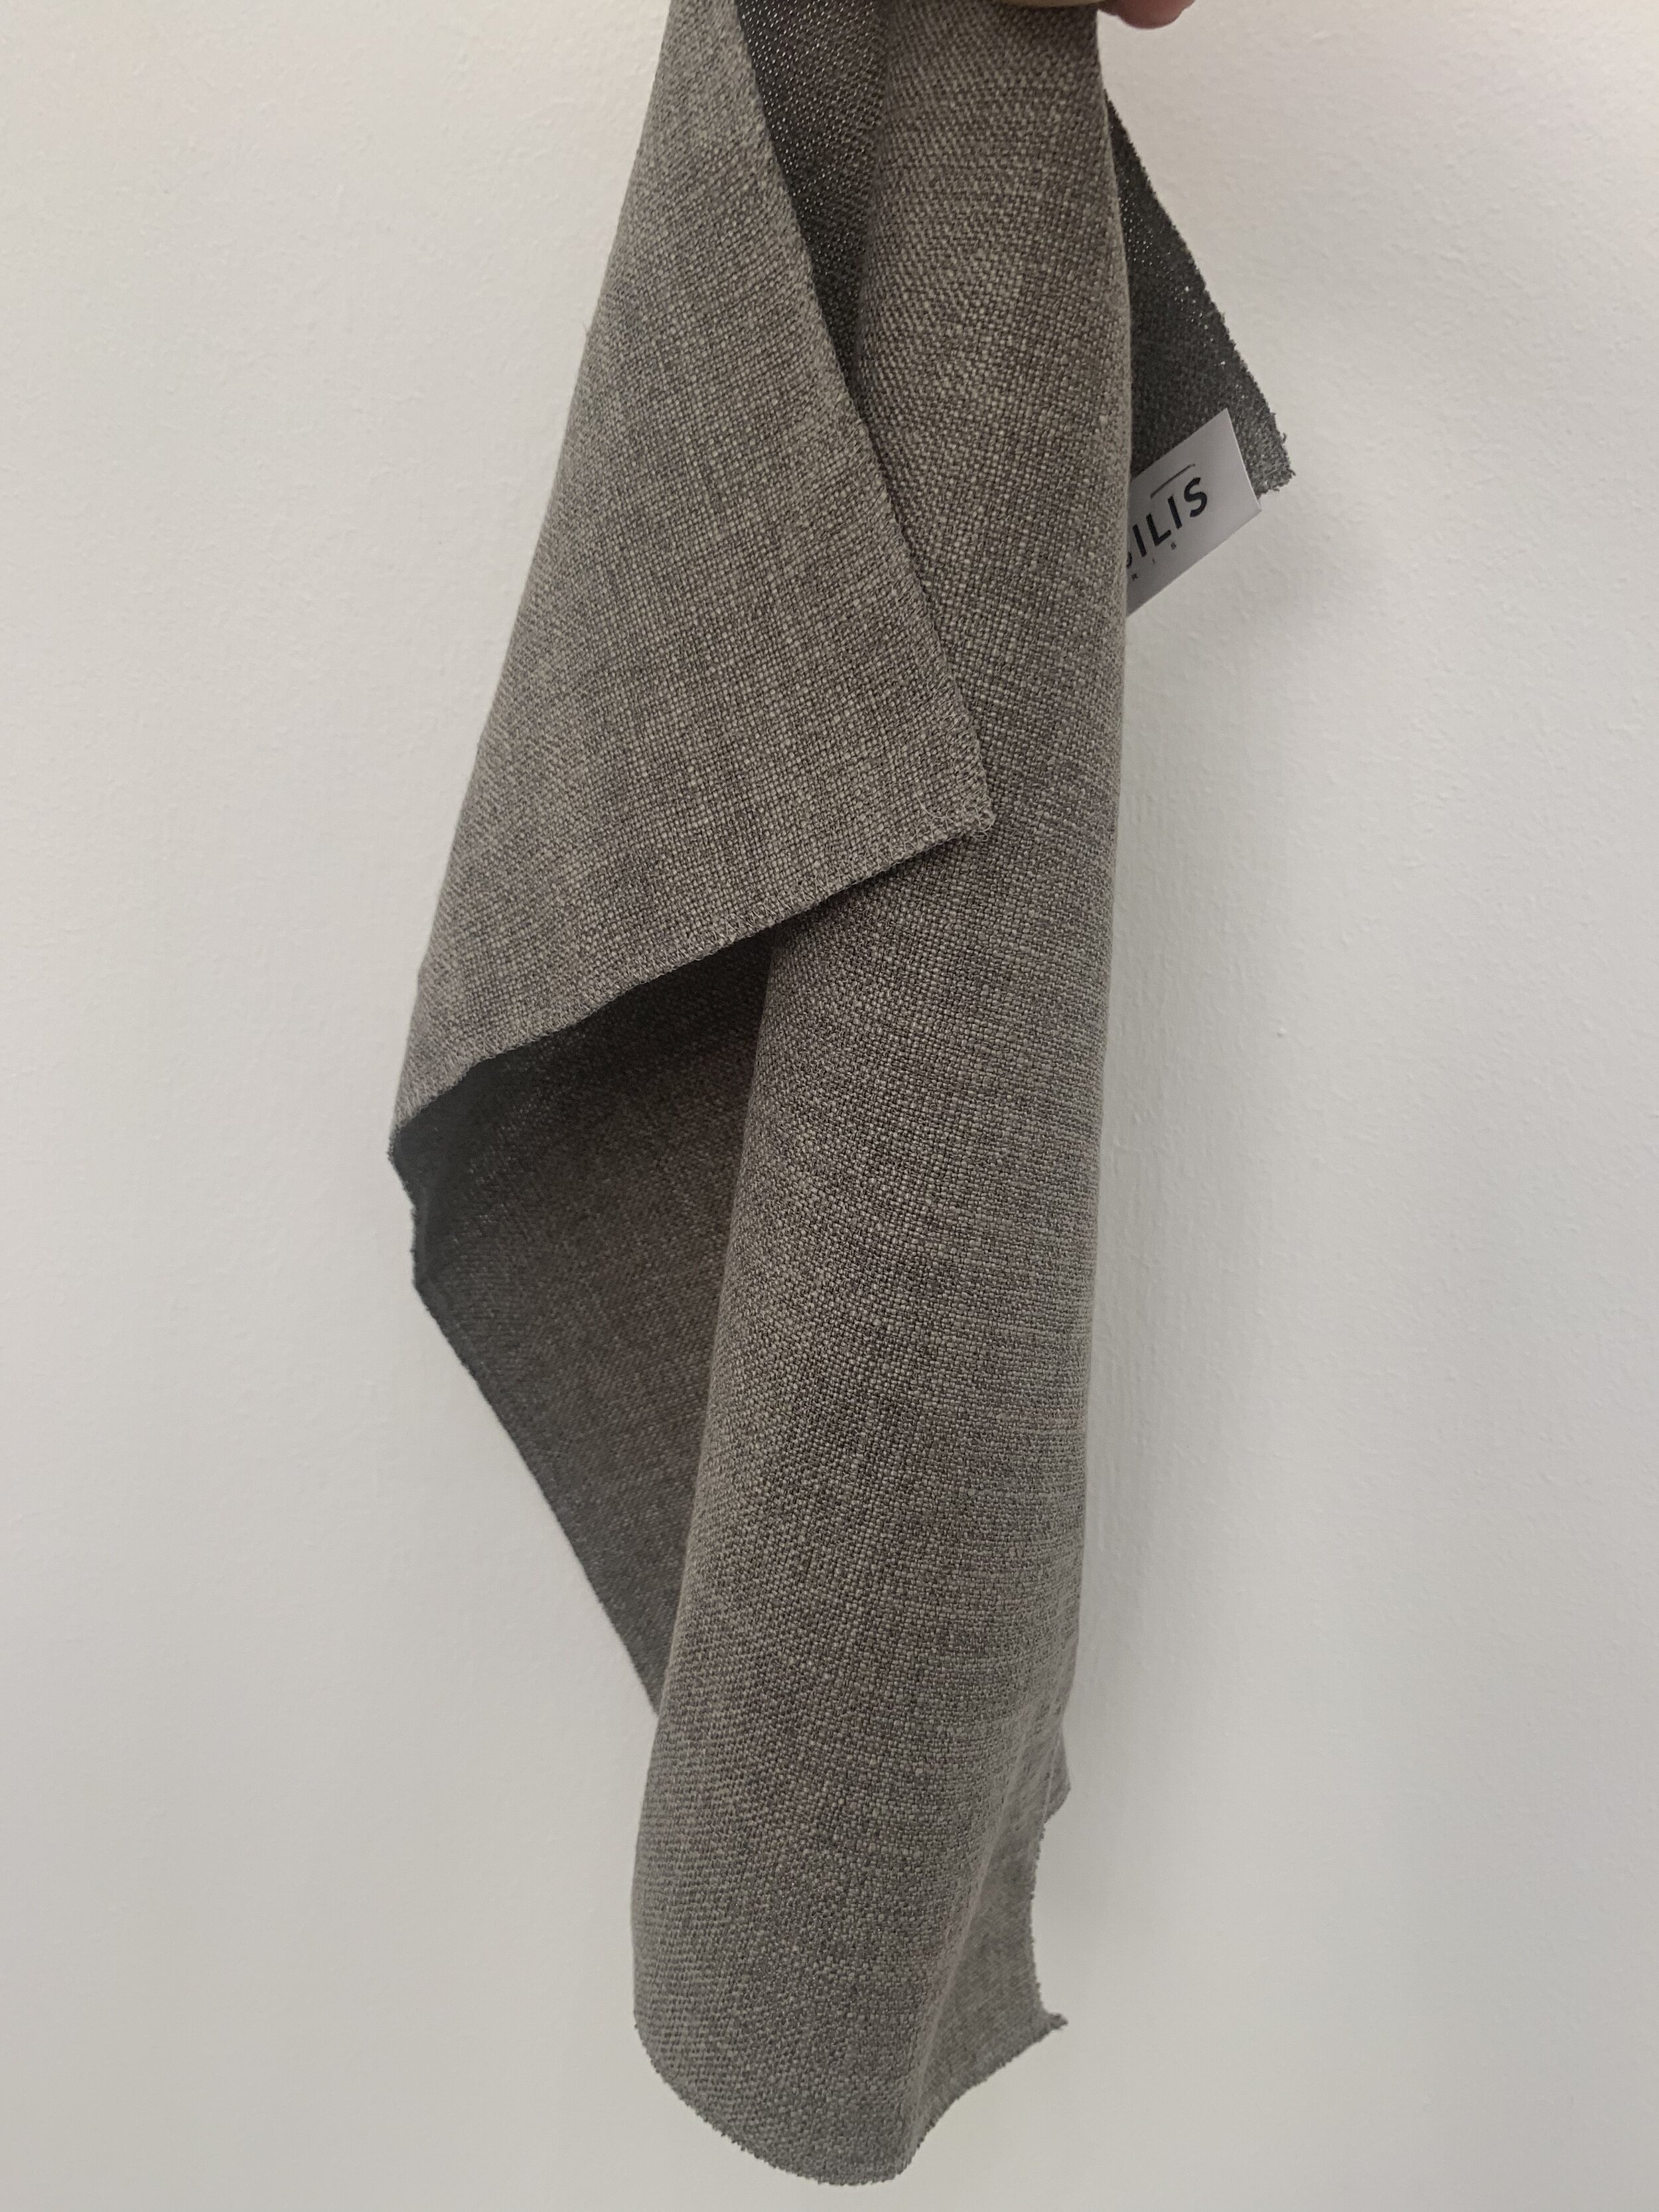


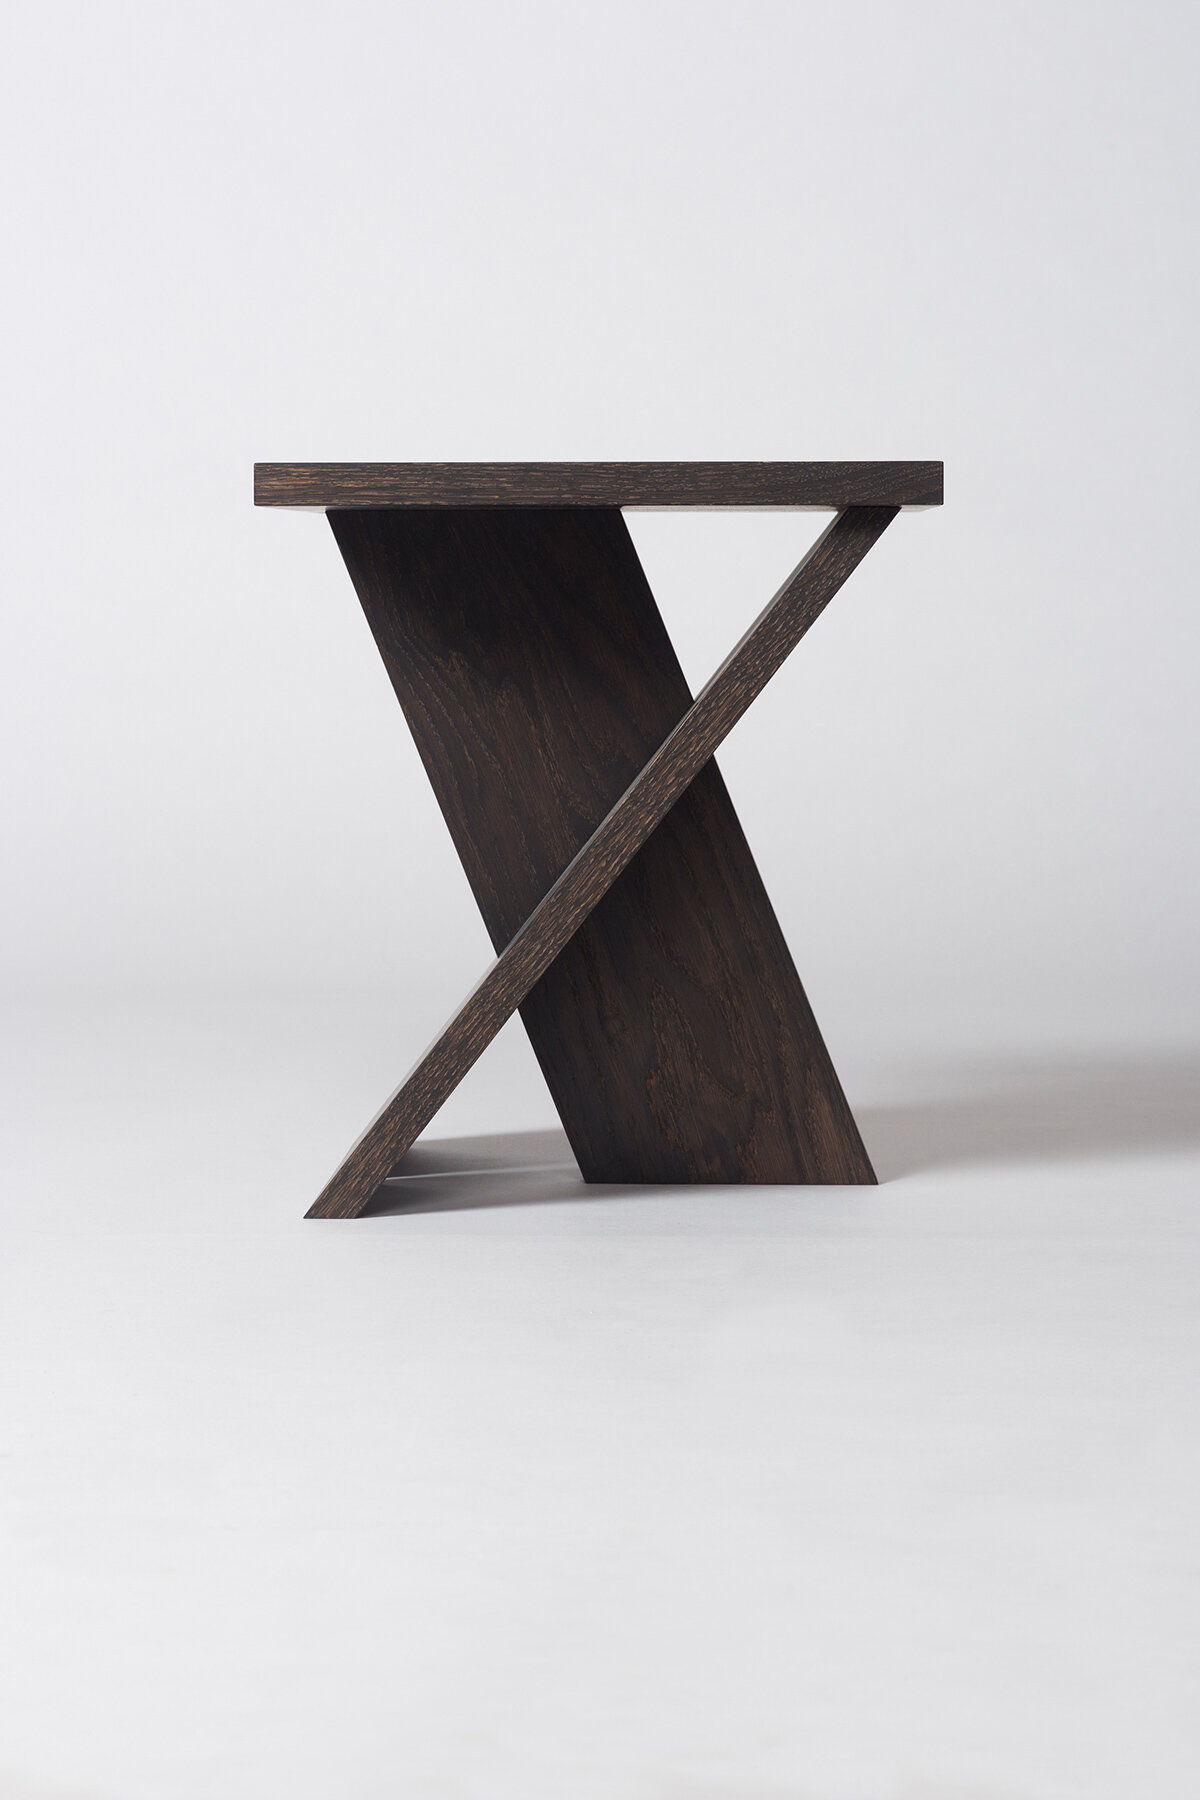
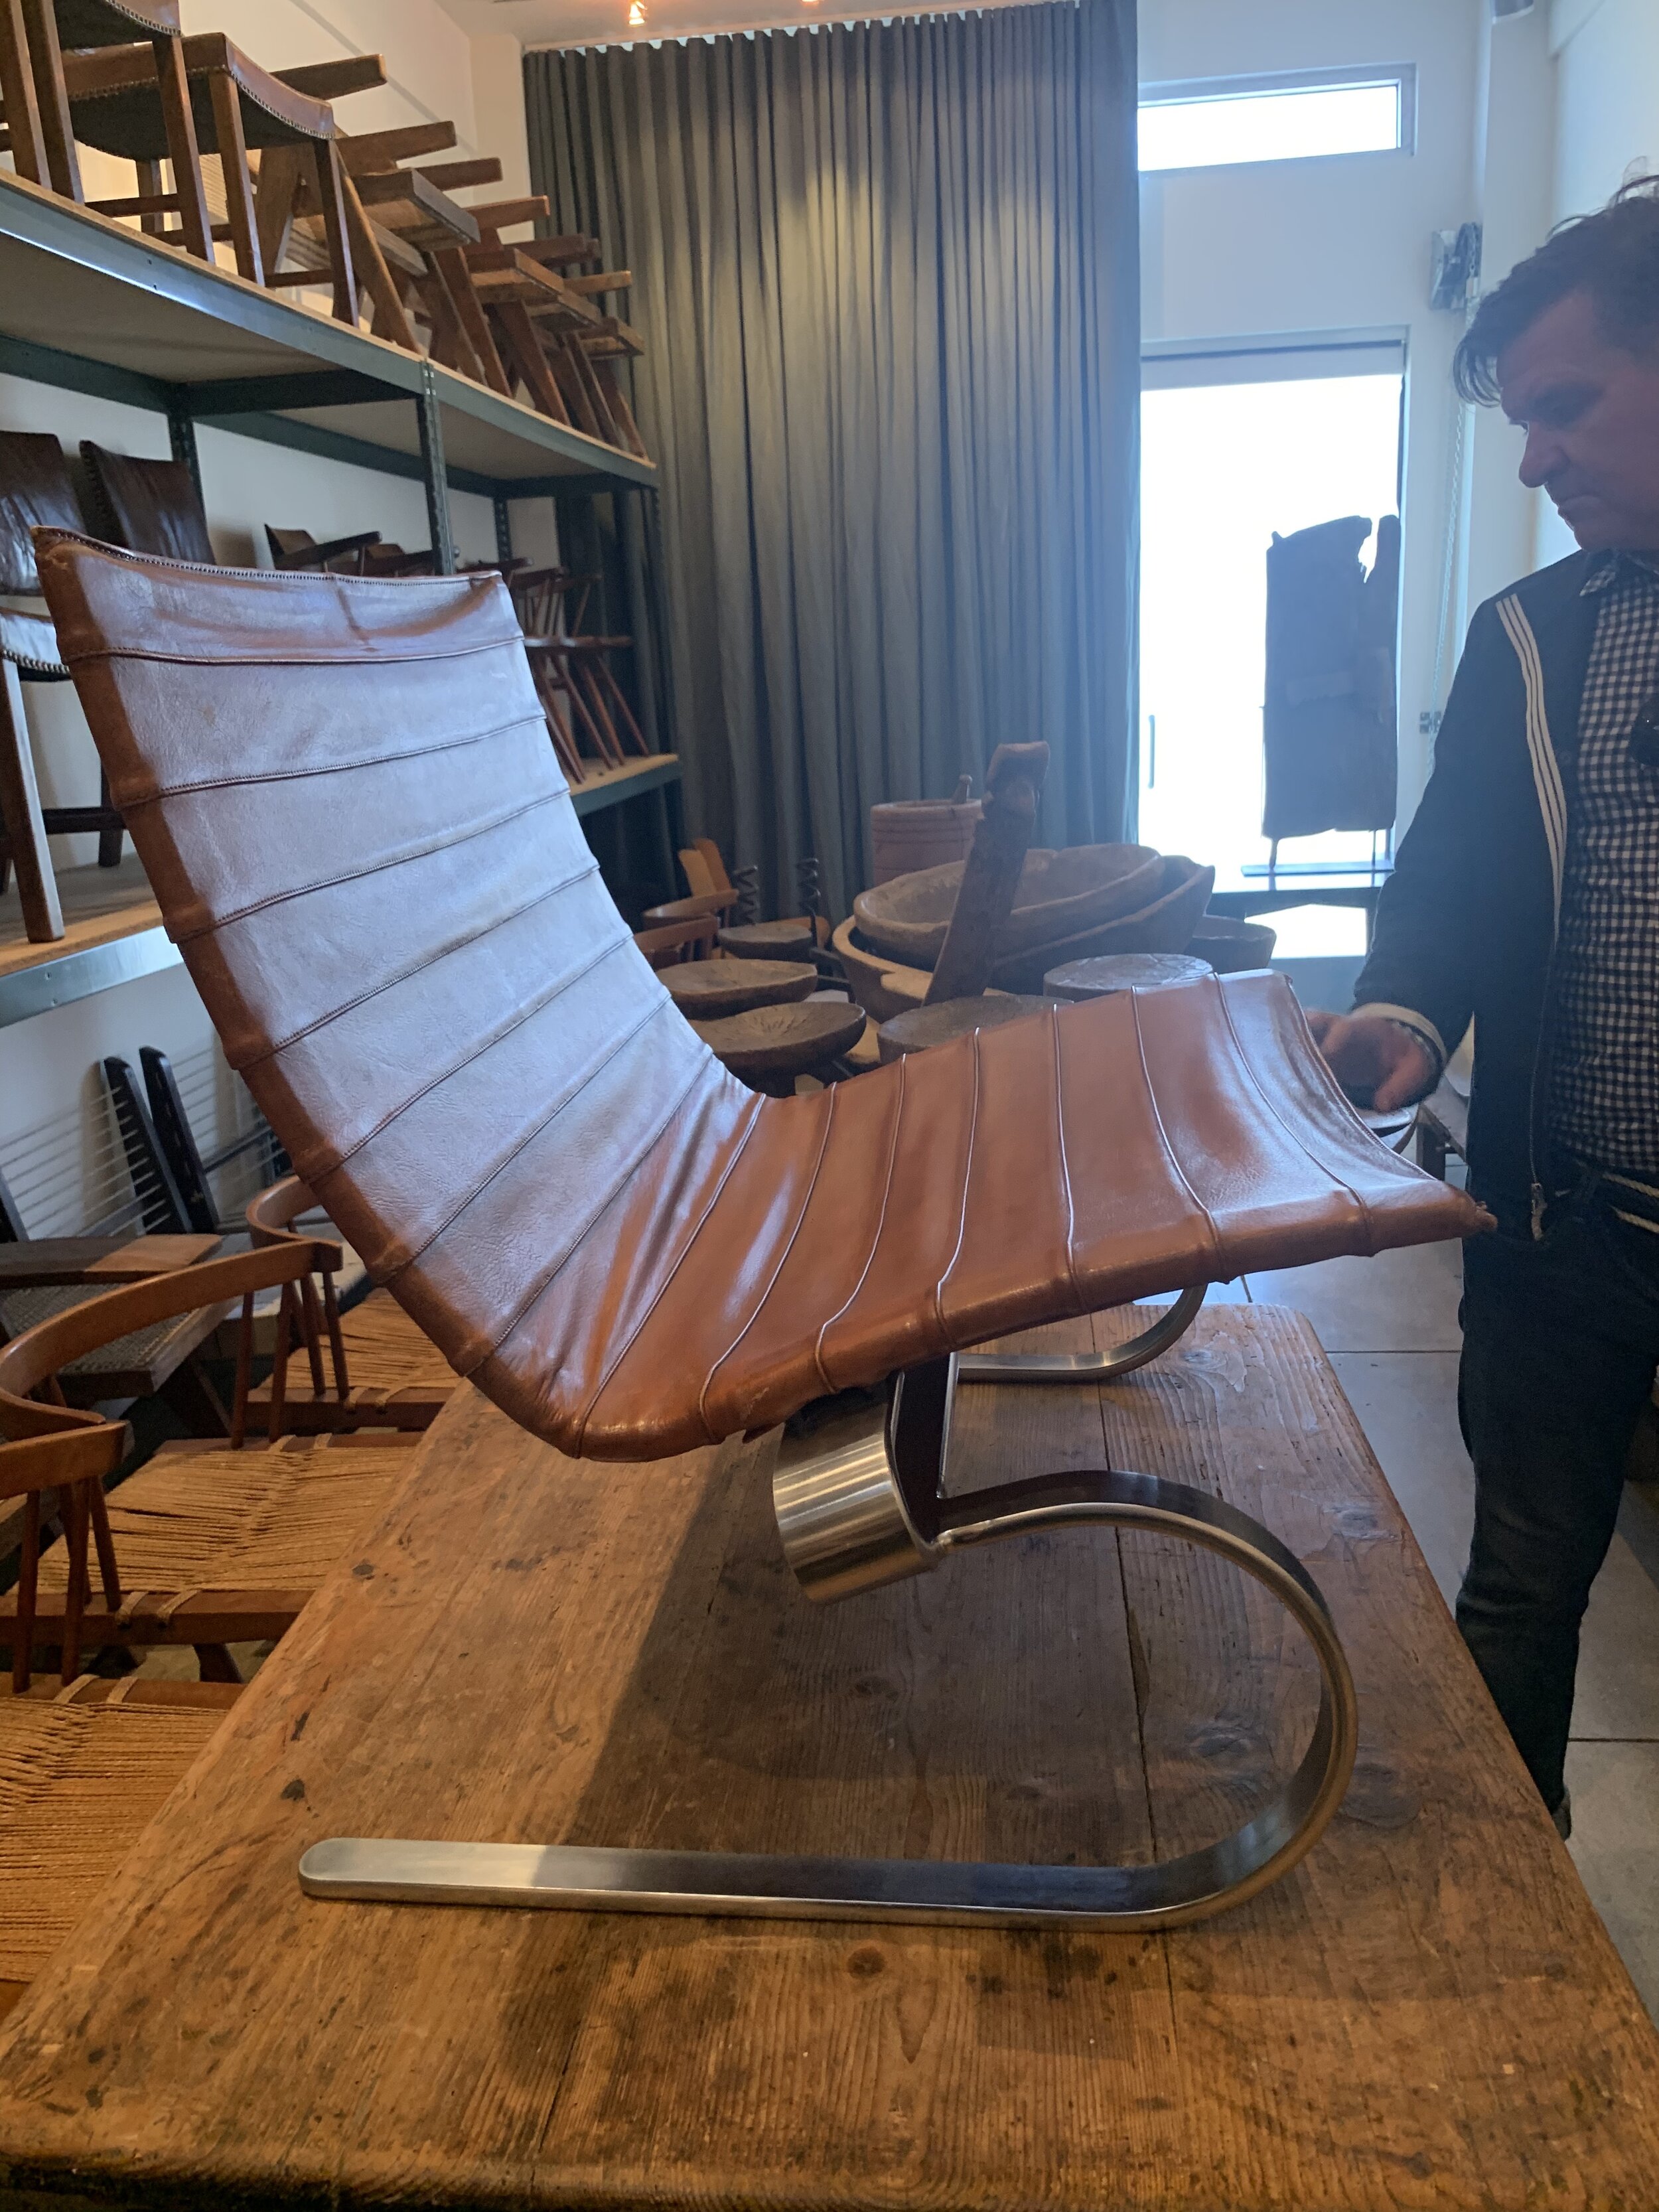
Photo-references for Loyola Wine Room Project - Property of MAK Studio
Reference Photographs
We searched on several places to find the references for our 3D renderings. We browsed the photos on Google, Flickr, Unsplash, Stockphotos, and other websites, trying to get the most relevant references to aid us. As those images may be the subject to copyright, we decided not to show them here.
Execution
CRAFT OF MAKING 3D RENDERINGS
We use computer to make 3D renderings, but it is a common misconception that computers make them. However, no software will ever replace humans in creativity. Like in any craft, machines are here to aid us, while we rely on our creativity and sensitivity to build things.
Software that can generate images are Machine Learning models, and some of them can be very powerful. They lie on the shoulders of human creations, so what software can generate is an imitation and usually looks generic and artificial. Making pleasant images requires sensitivity, eros and creative energy, and these attributes belong to humans only.
As 3D artists, we turn an architectural design into images that reflect the architect’s vision. Translating the design into images is actually the craft of making 3D renderings. In our trade there are three major parts that make up this craft.
3D Modeling.
Rendering.
Post-Production.
All these parts are independent but connected in a linear chain, and the borders of their relationships are blurry. Each part requires a special piece of software, but they also share the common frameworks.
3D MODELING
WHAT 3D MODELING IS
3D modeling is a skill of making virtual 3D models, and it requires knowledge and abilities in different areas. In architectural 3D modeling, there is a specific set of necessary requirements:
Ability to read architectural drawings and documentation: people learn this skill in architectural or civil engineering schools, but this skill can also be self-taught.
Knowledge of any 3D and 2D software: there are lots of software out there such as 3ds Max, Blender, Modo, ArchiCAD, or AutoCAD.
Basic understanding of architectural elements such as the slab, window, door, roof, sidewalk, breezeway, beam, or staircase.
3D MODELING OF THE LOYOLA
In our studio, we use Autodesk 3ds Max for 3D modeling.
For this project, we modeled the overall interior space along with its elements such as furniture, shelves, wooden floorboards, and others. We also had to model the exterior environment.
The Loyola Scene 3D Model
Making the interior was pretty much straightforward. We started by creating the walls, the floor, and wrapped the space up with the ceiling. We inserted the main window in the center and the lightwell on the right side of the room.
As the space was tight, it was hard to place the main camera to capture the entire room. We came up with a solution to detach the wall that blocked the camera view and assigned a property to the wall “not visible to the camera”. Thus, we achieved two things:
An unobstructed natural view without the need of reducing the camera focal length.
The wall was still included in the global lighting calculation.
Modeling the furniture for this project was both simple and challenging. We modeled the furniture just by observing the images from the web and catalogs. For most of the pieces the modeling was simple, but for some it took some time. As an example, modeling the sofa and the armchair required a lot of work compared to the shelves and the hanging light, where the modeling went smoothly.
The armchair and the sofa 3D Models
The table and a chair 3D Models
The hanging light 3D Model
We made the wooden floorboards with a help of the plug-in software called the Floor Generator. It’s a well-known piece of software, very simple to use and efficient in making floor finishes such as boards, tiles, or any other floor covering. Last, we placed details on the shelves such as books, bottles, and more books.
The floor 3D Model: Made with Floor Generator
Since we had to make only one view, making the exterior surroundings was easy. We placed a custom-made 3D olive-tree in the yard, a fence around the plot, and greenery close to the interior space to bounce the natural light. Also, we placed a grove outside of the fence, and a few trees on the right to enrich the view with branches and leaves.
The Olive tree 3D Model: Made with Grow FX
RENDERING
WHAT RENDERING IS
Rendering or an image synthesis is a process of computation that generates the image from a 2D or 3D model. Software specialized for the rendering process operates as a part of 3D applications or as a standalone software package, and it’s called the rendering engine.
Rendering engines take three basic things into their calculation process:
2D or 3D model.
Model materials.
Scene lighting setup.
RENDERING OF THE LOYOLA
For this project, we divided the rendering process into two segments:
3D Model Materialization.
Scene Lighting.
Both segments are tightly connected and mutually dependent. To illustrate, tweaking a material parameter can change how the scene lighting reacts against its surfaces. Tweaking the scene lighting makes all materials in the scene to look different. Simply put, setting up the rendering engine is a back-and-forth process.
The rendering engine we use in our studio is V-Ray, by Chaos Group. V-Ray is intuitive and quite easy to use, and it’s our tool of choice in the workflow.
3D MODEL MATERIALIZATION
In the Loyola scene, we can find several types of surfaces: solid, reflective and transparent.
SOLID SURFACES:

Wood, Fabric and Paper materials preview
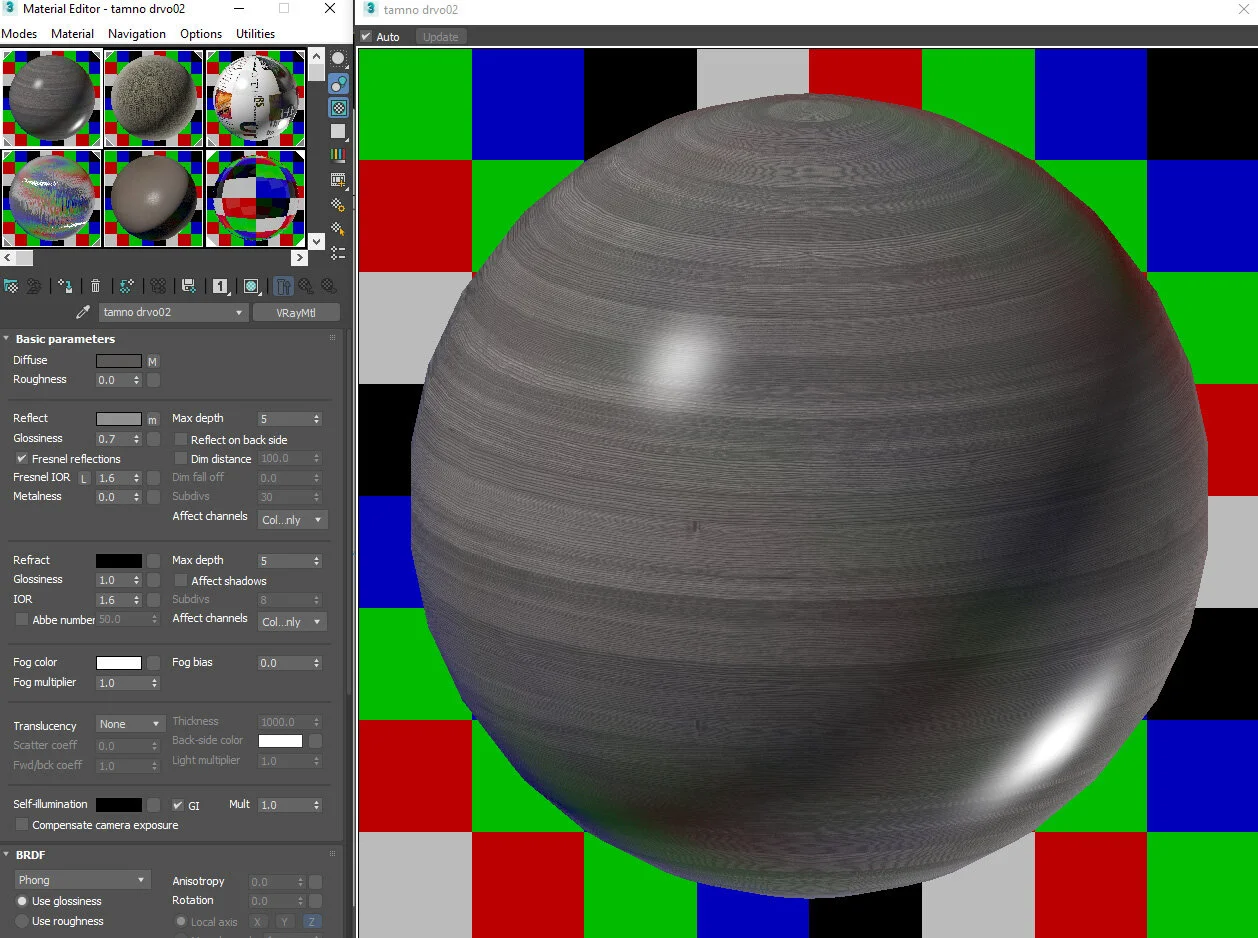
Wood:
We coated the wood panels, small chairs and shelves with the wood material in the following way:
We used a wood texture as a diffuse and bump map. The grain of the wood was strong, so we had to reduce it. To make this work, we changed the diffuse map attribution to 70% and blended it with the base color map, which is sampled from the wood texture.
Fabric:
For the interior elements such as the carpet, the wall above the wood panels, and the curtains, we designed the fabric material. The same technique was used as for the wood material. Here, we assigned the displacement modifier to the carpet, simulating its rugged texture.
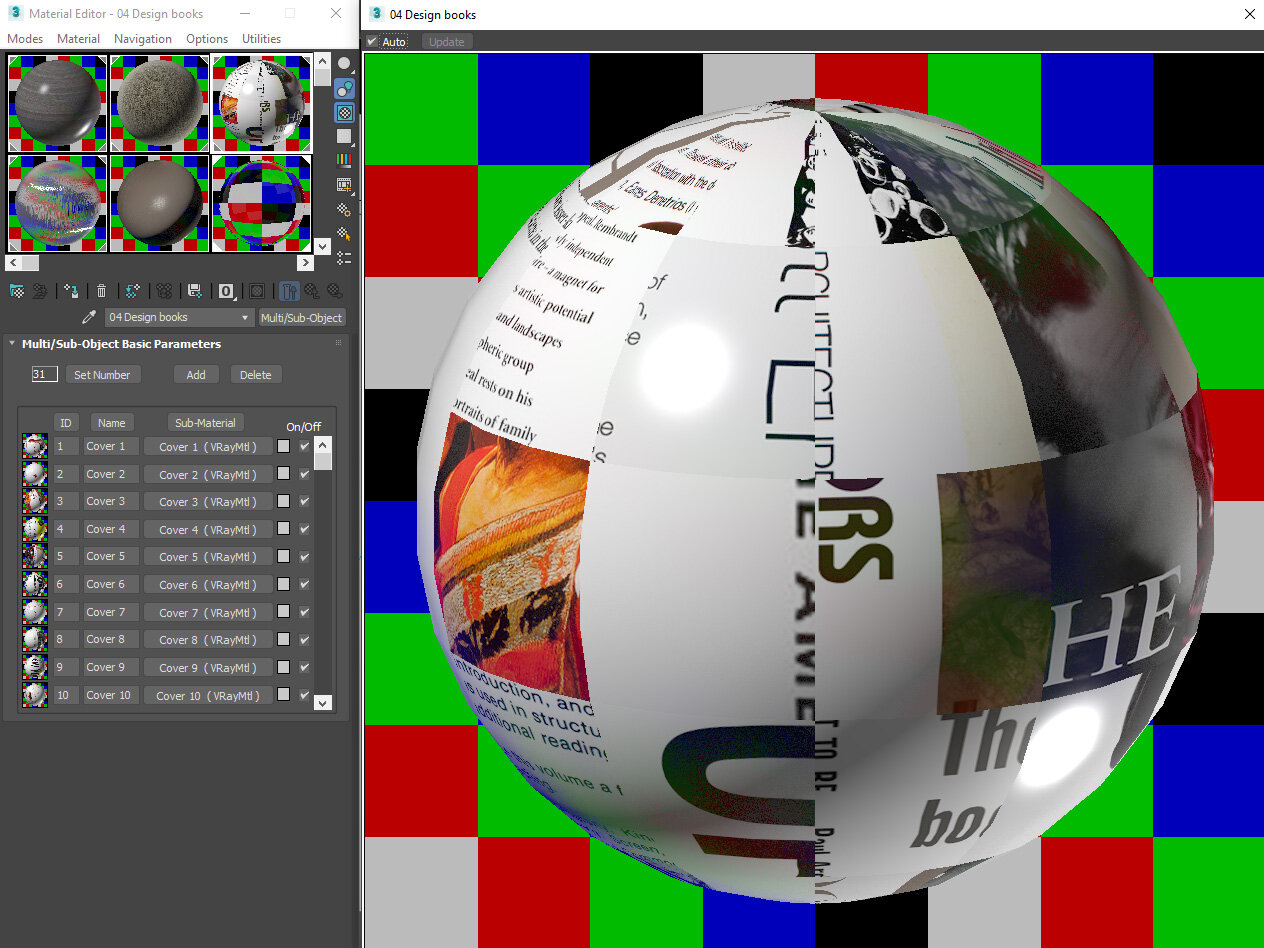
Paper and Plaster:
We applied the paper material control only on books, using a set of different book textures and shuffling them randomly. This kind of technique is necessary to have a natural look of the books.
We used the plaster material control only on the ceiling. It’s made by assigning white ivory color to its diffuse map.
REFLECTIVE SURFACES

Metal, Leather and Glass materials preview
Metal:
We applied the metallic material control on the window frames, armchair legs, the hanging light above the sofa, and minor details on the shelves. We made it by assigning pure white color to the reflective map. We adjusted the IOR (Index of Reflection) parameter to 6.0, the glossiness to 0.9 and the metalness to 0.8. Depending on what kind of metal surfaces we wanted to achieve, we tweaked the glossiness and metalness parameters.
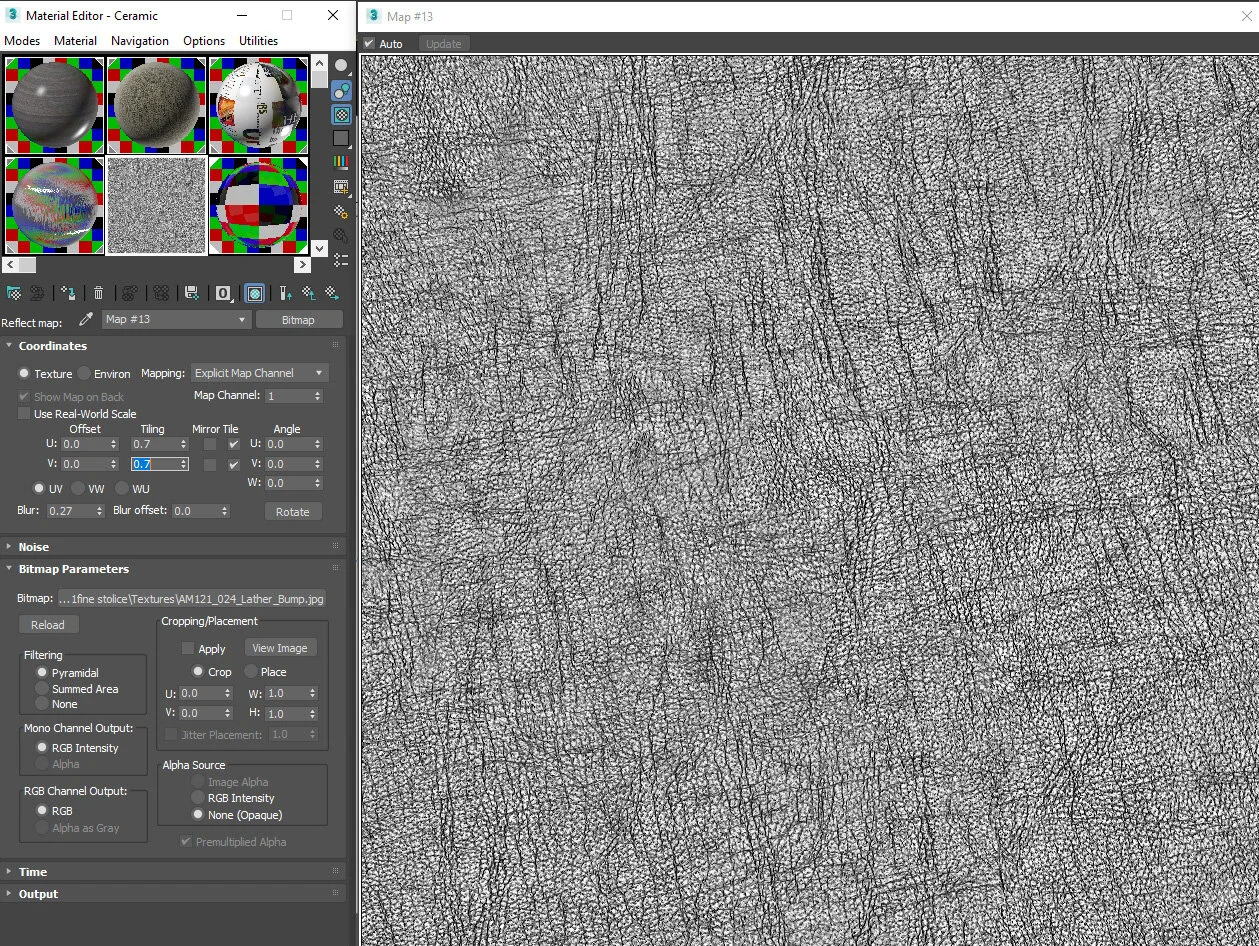
Leather:
Only the armchair seat used the leather material control. We made it by using a leather texture as a diffuse and bump map. To the reflection map, we assigned a light gray color with RGB value of 150 and set the glossiness parameter to 0.6.
Transparent surfaces
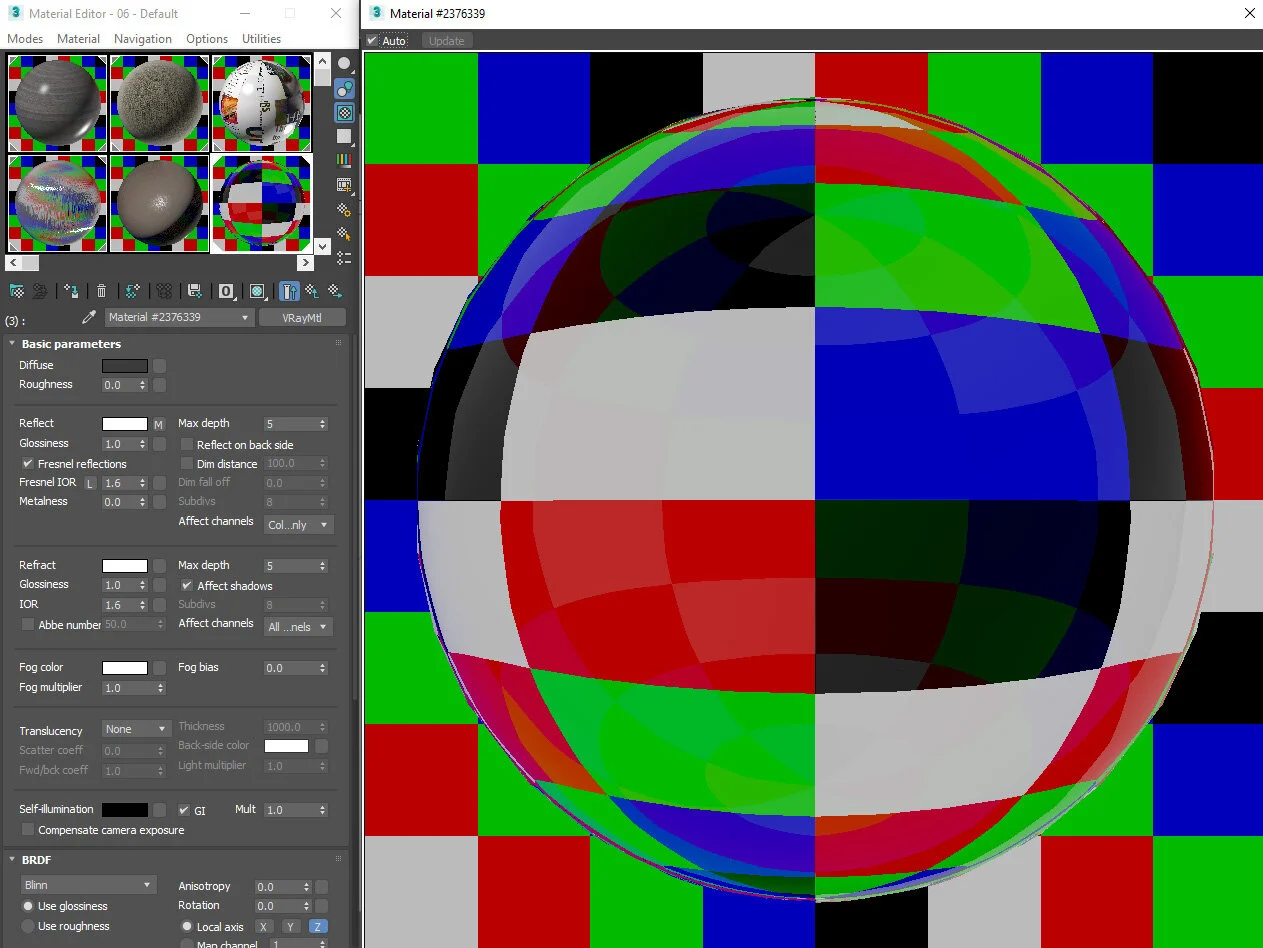
Glass:
We applied the glass material control on the windows and bottles. It is an easy material to make. We simply assigned black color to the diffuse map and white color to reflective and refractive maps.
SCENE LIGHTING
Setting up good lighting can be challenging. We had lots of trials with the client in order to get the right atmosphere.
As for the key light, we used the direct sunlight. We placed it high on the right to illuminate the left side of the interior. We also emphasized the shelves and the sofa niche with soft indoor lights.
From a technical point of view, we simulated direct sunlight by using the V-Ray Sun light. We placed two V-Ray light planes outside to aid the key light, simulating the indirect light bouncing. For the soft indoor lights, we used the small V-Ray light planes.
POST-PRODUCTION
WHAT POST-PRODUCTION IS
Post-production is a procedure of composing and adjusting the final image. In contrast to the rendering process where the rendering engine does the heavy lifting for us, here we rely on our handwork and intuition. We use various rendering elements from the output and orchestrate them into the final composition. Then we tune and refine it, achieving the final look of the image.
Our Post-production Process
The Loyola Post-production process in Photoshop
There are lots of software packages for post-production such as Photoshop, Nuke FX, Affinity Photo, Fusion, and many others. In our studio, we use Photoshop, Affinity Photo, and the Nik Collection Photoshop plug-in.
The following is our usual process of post-production:
First, we open the raw rendering in Affinity Photo and perform the Tone Mapping Persona operation. Here we get most of the rendering, and we save it in EXR format to preserve the entire gamut of colors. Afterward, we adjust the contrast, highlight and shadow areas, mid-tone values and colors.
We continue our work in Photoshop, composing the image with its rendering elements. To compose the final rendering, we overlay the rendering elements such as raw lighting, reflection, refraction, and Z-depth on the top of the base image. Just before the end, we balance the final contrast and colors. It’s very important to mention that by emphasizing and adjusting black and white areas, we add deepness and juiciness to the image. Finally, we process the final rendering with Nik Viveza plug-in, making the definite look of the rendering.
FINAL WORDS
Working with MAK Studio on the Loyola Project was informative and fun. Since we made this kind of interior for the first time, this was a novel experience for us.
The most instructive part of the project was the stage where we had to solve the problem of making a normal-looking camera view in a tight space. Also, there were more challenges to cope with, such as making the interior look illuminated but keeping it wrapped in dark tones.